Rear Install:
NOTE: If you have an additional set of hands, or you are working on a lift you will not necessarily have to remove the control arm/ hub body bolt
Step #1: Loosen rear wheels, place jack under appropriate jacking spots and lift car to appropriate height. Remove wheel
#2: Remove 18mm bolt from the bottom of the strut body/lower control arm using impact (not necessary but sooooo much easier)
 NOTE: At this point if you have someone helping or are on a lift you may be able to pry down on the lower control arm giving yourself enough room to remove the spring either to the sides of the control arm or through the larger hole in the rear. Have your buddy pry down while you finaggle the spring out. Skip the applicable steps following, and just worry about the strut bolt
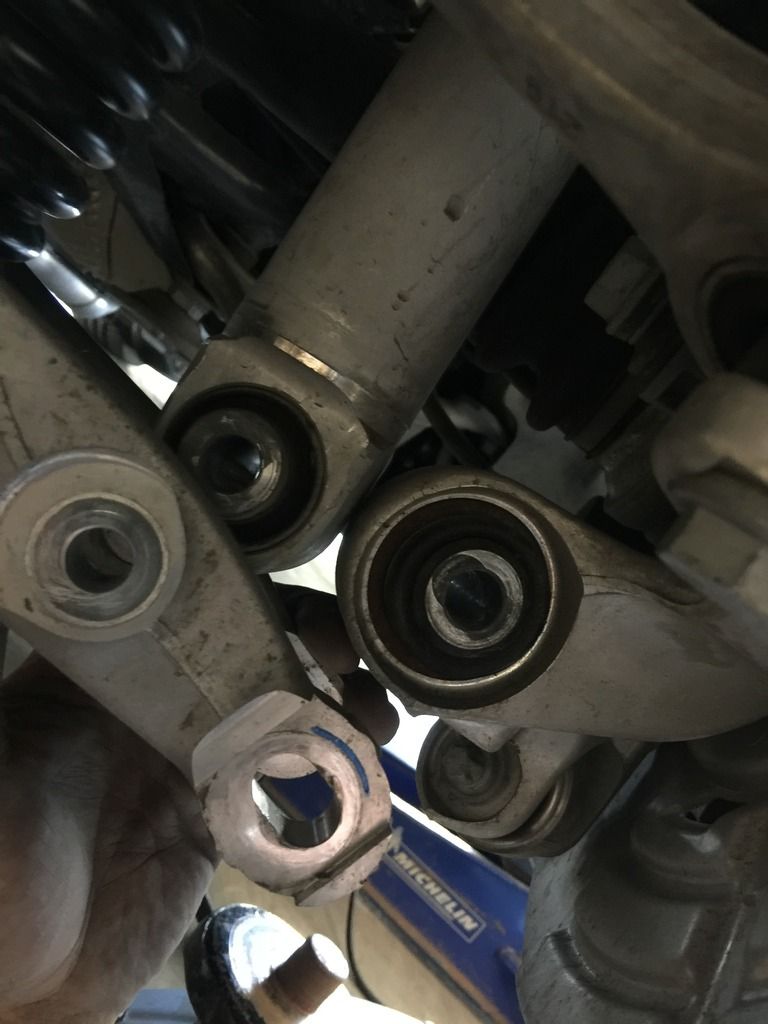
#3: Using a permanent marker trace around the adjustable nut/washer for the lower control arm to hub on the bolt side. You will notice they look like they are one piece as the bolt is key seated in order to provide adjustment to both sides of the bushing. This will be used as reference for re-assembly however you will still require an alignment (picture after #4 shows where I marked as reference)
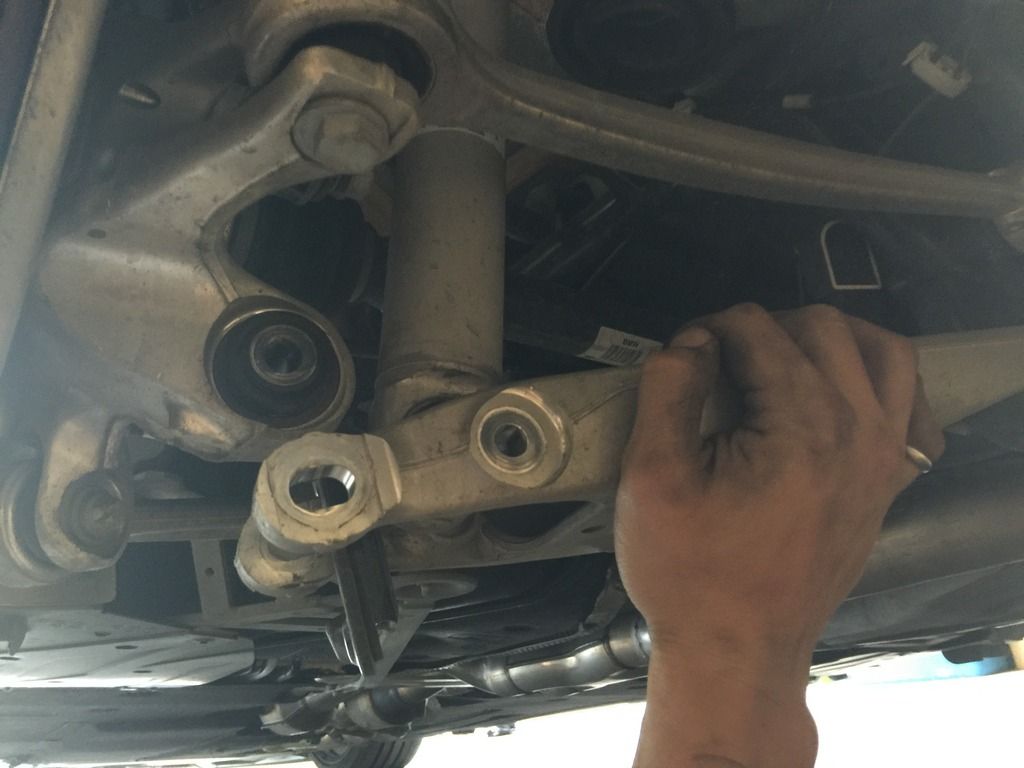
#4: Remove 21mm nut from lower control arm / hub connection using an impact and extension.
Note: Make sure you remove the NUT, not the adjustment bolt.
#5: Place your second jack under the hub assembly and slowly jack until you find neutral, at this point pull the bolt from the lower control arm.
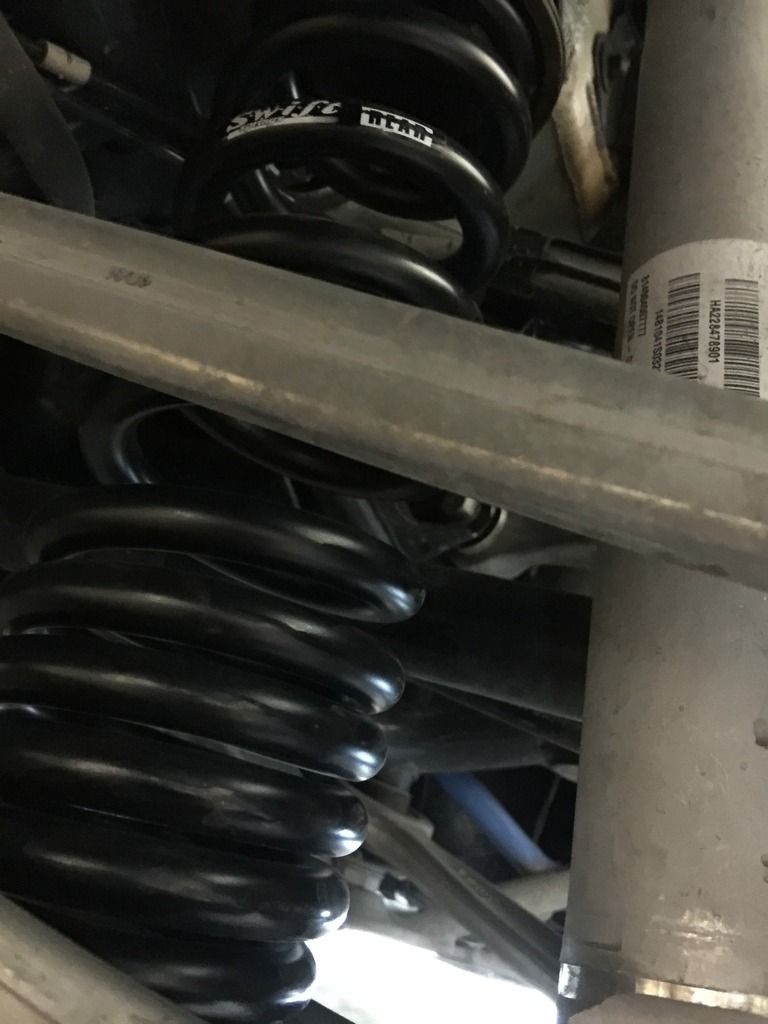
#6: Take a look at the stock spring placement and take note of the rubber top and bottom cap placement. Pull down on the lower control arm and wiggle the stock spring out of place. (very easy at this point)
#7: Remove the rubber components from the stock spring and install onto your new spring. Make sure the coil ends seat into the appropriate spots on the rubber caps.
#8: Install the top of the coil back into the pocket and the lower rubber back into its seat. You will see a little nose on the lower rubber boot which goes through a hole to keep it in place. Turn the spring in the top pocket until the bottom of the spring looks as though it will line up properly with the lower rubber.
#9: This step can be a GIANT pain in the ass if you don't take your time. Place the second jack under the lower control arm where it wont be in your way and where it will lift the control arm straight up
#10: Ensure the bottom of the strut is seated in the grooves in the lower control arm. The bolt hole will line up perfectly but do not place the bolt in yet.
#11: Lube both sides of bushing on the hub body and the inside of the control arms. Now SLOWLY jack the lower control arm up while adjusting the control arm in order to slide it over the hub body bushing until the bolt holes line up. This can be a giant asshole if it chooses to be.
#12: Slide the bolt through the same way you pulled it out and place the key washer on the other side before the nut. Hand tighten.
#13: Slide the bolt through the bottom strut / control arm and hand tighten.
#14: with the control arm under load (jacked up to approximately neutral) torque the 18mm strut/control arm to 74 ft-lbs
#15: Remember those lines you traced? using a 21mm socket turn the bolt (from the bolt side) until the washer is back where it was. Torque to 74ft-lbs (please verify this number) ensuring you have it held from both sides so neither turn freely.
#16: Re-peat for the other side.
Before

After