| 10-17-2015, 05:58 PM | #23 |
|
Private First Class
 

49
Rep 186
Posts |
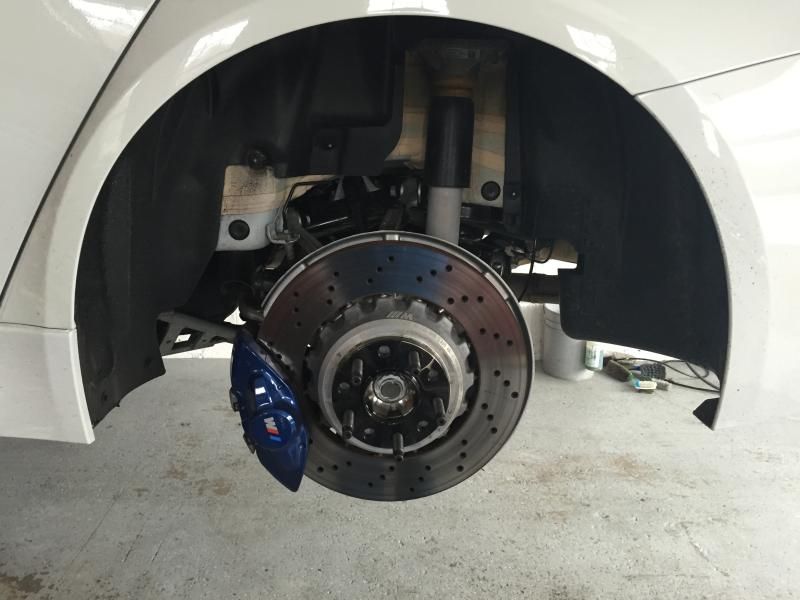
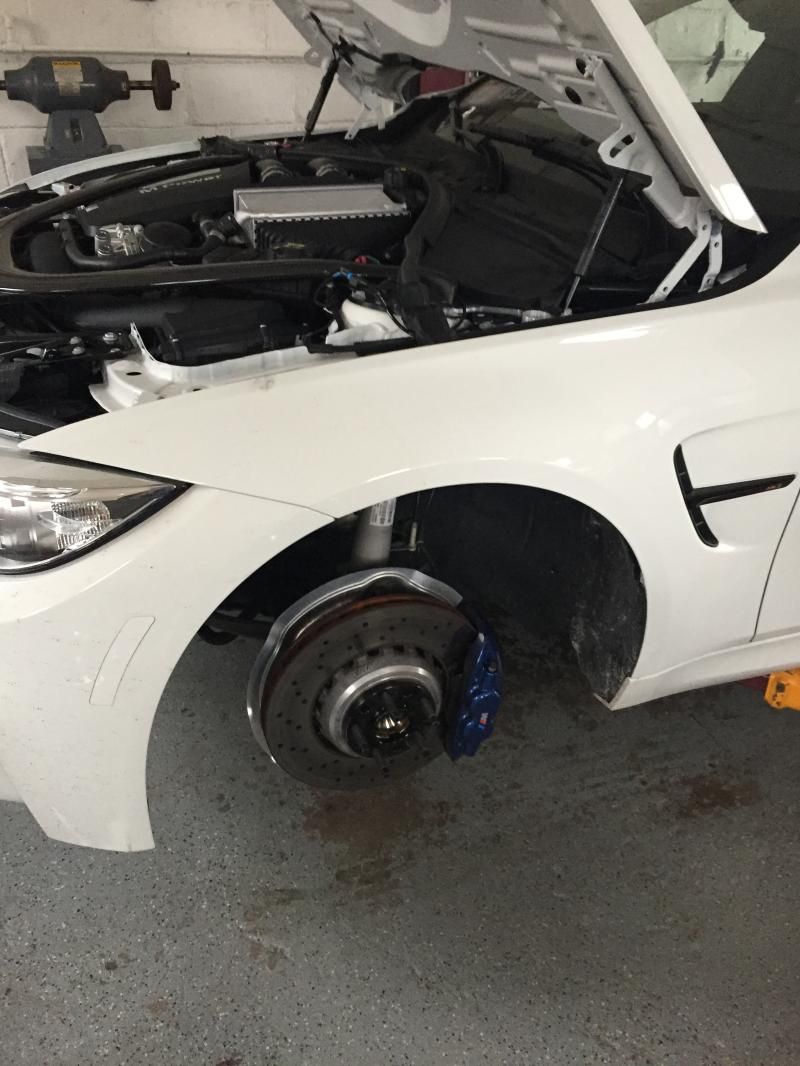
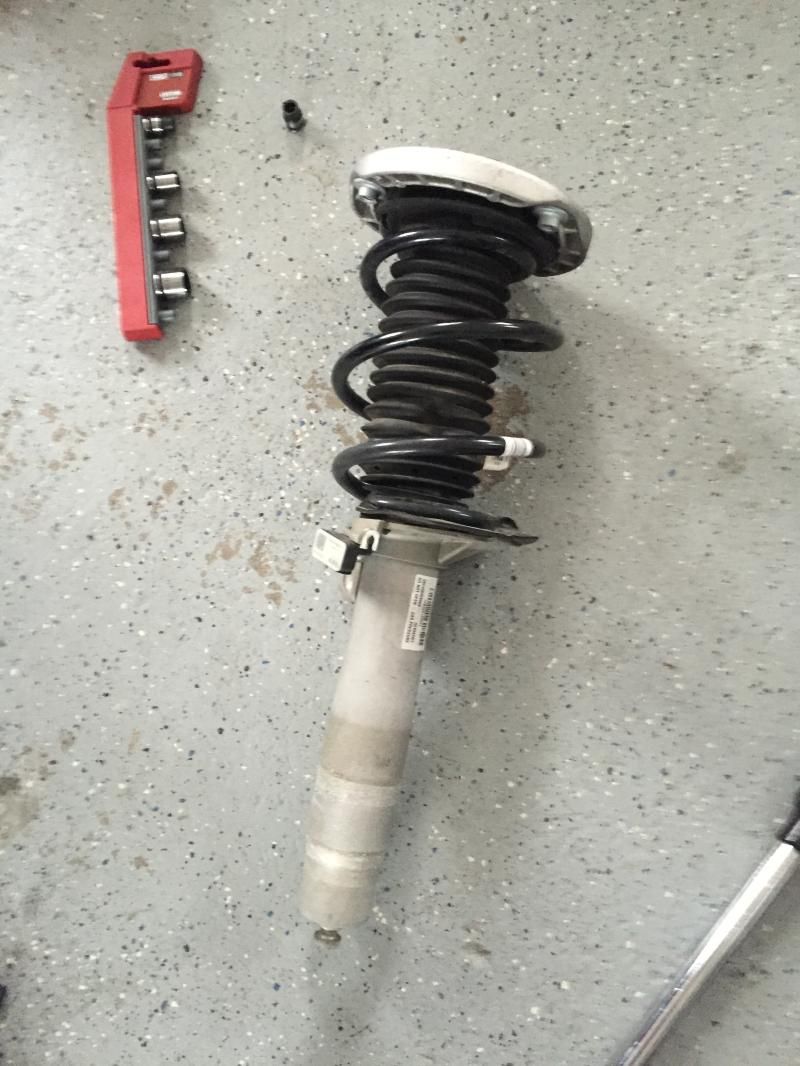
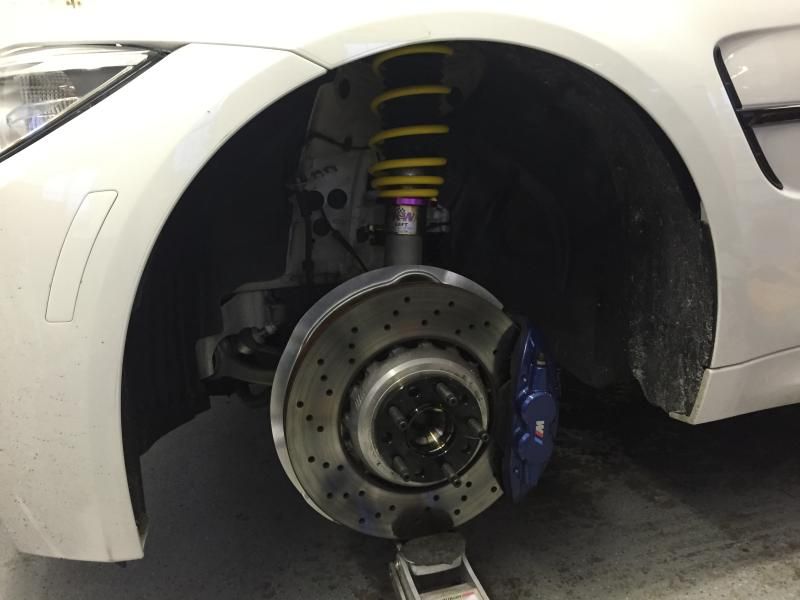
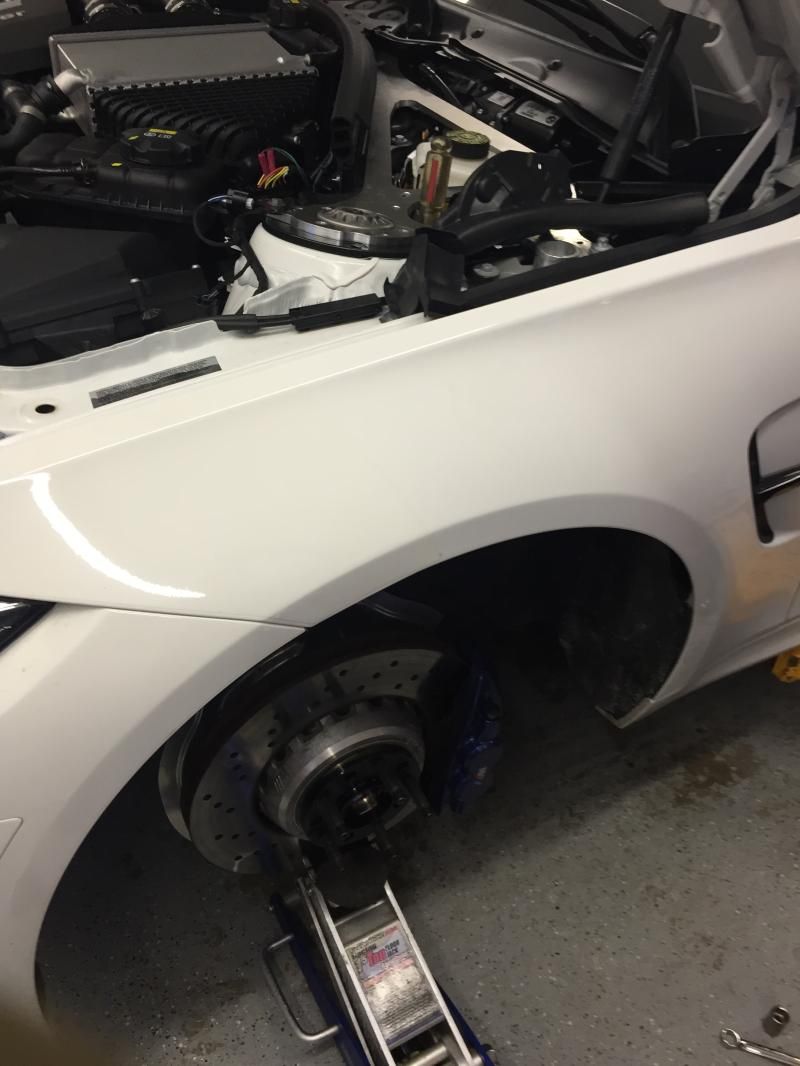
M4 has been dropped and must say it was quit an easy job.
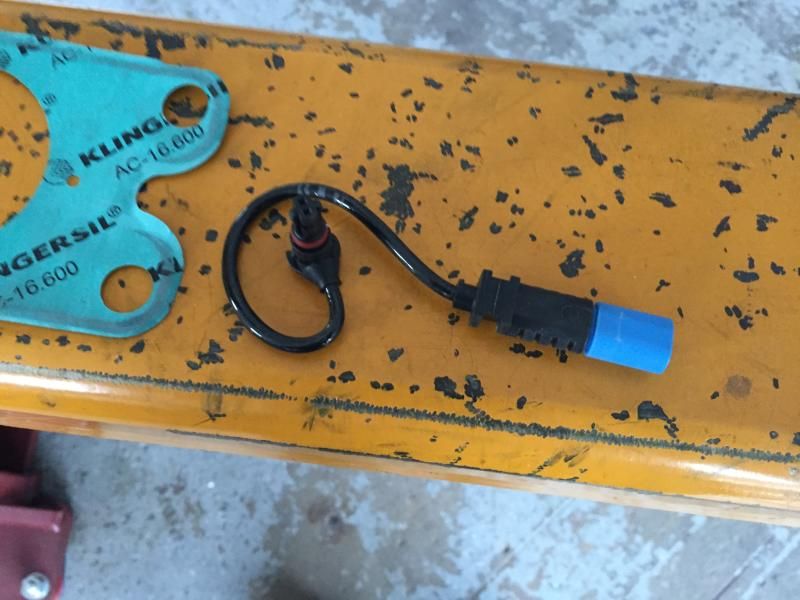
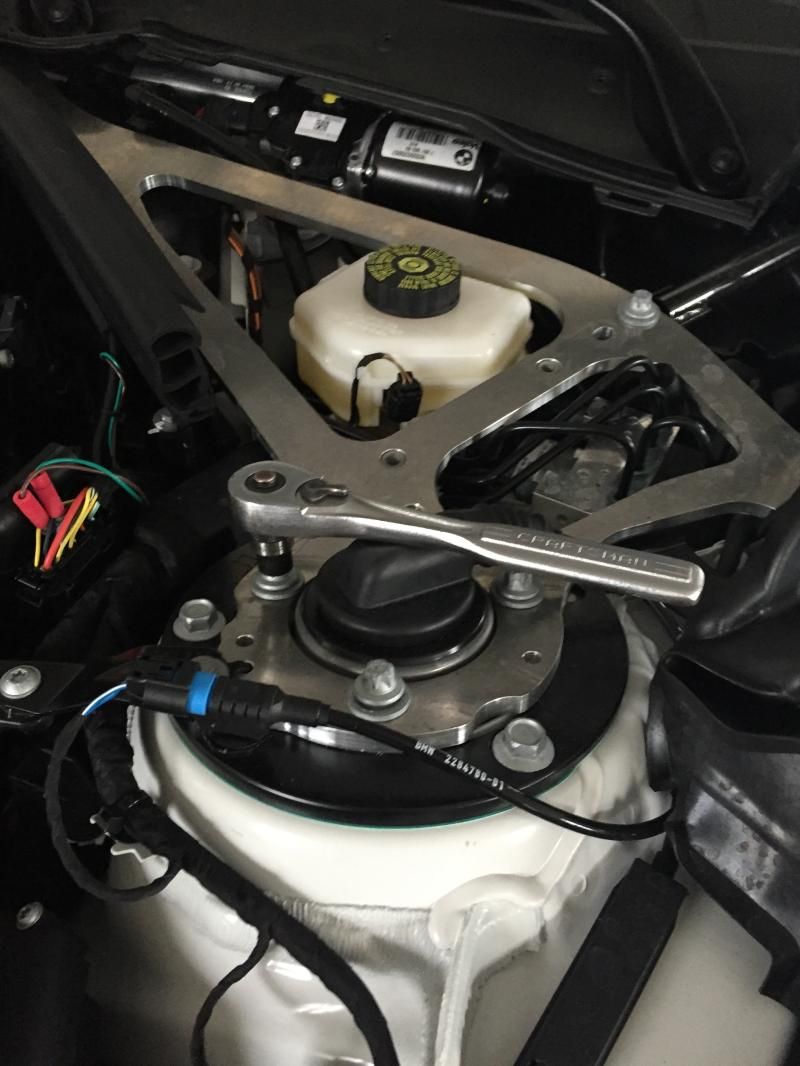
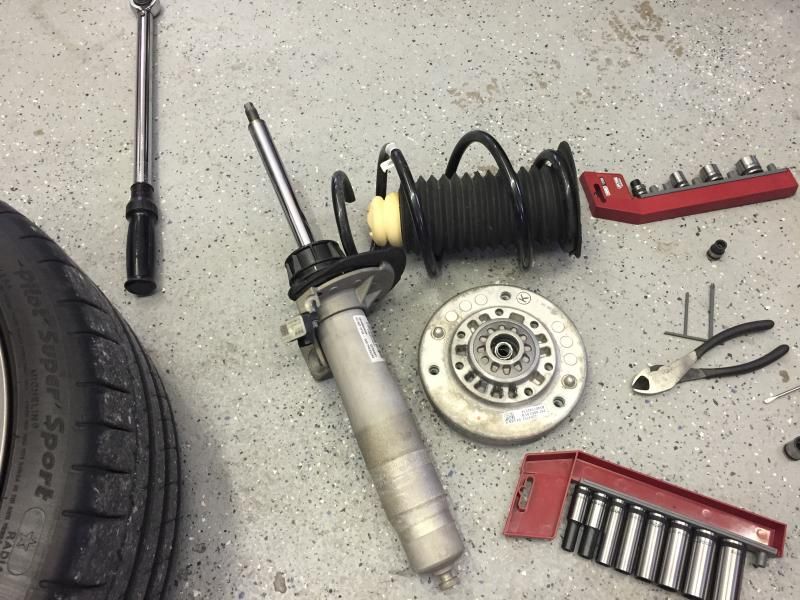
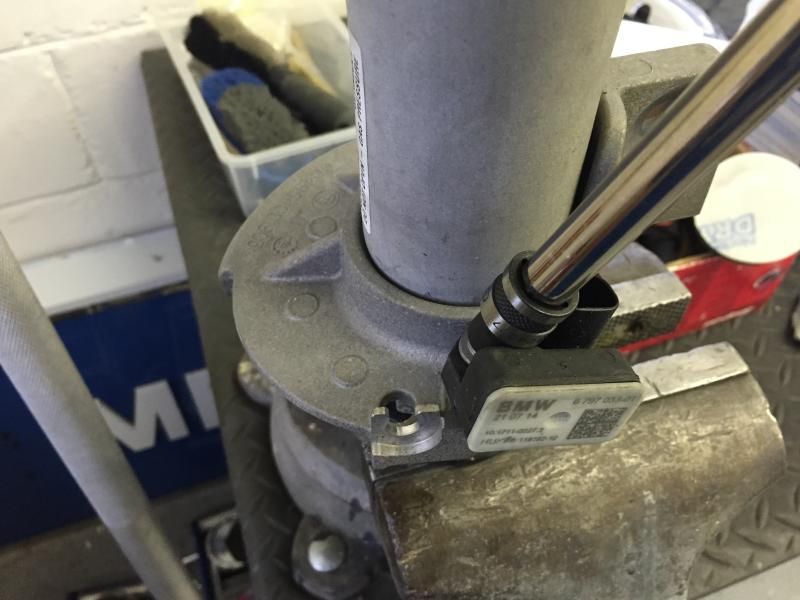
With respect to the strut bar....there is no need to unbolt this. I left everything on....disconnected the EDC sensor and removed the center nut in the strut hat which holds the piston. After that I've used a spring compressor....2 min job to install.....and removed the complete assembly from the hub. Complete installation took me approximately 4 hours including lunch  |
|
Appreciate
0
|
| 12-25-2015, 10:20 PM | #24 |
|
Captain

536
Rep 713
Posts |
Very helpful thread...installed my coilover setup today; will be doing ride height and CB tomorrow.
Thank you very much for the summary... Anyone know the TQ settings for the aluminum and carbon strut braces? |
|
Appreciate
0
|
| 03-08-2016, 06:13 AM | #25 |
|
Private First Class
42
Rep 129
Posts |
Great DIY!! Thank you. This helped me install my HAS!
__________________
2015 F80 ///M3 DD: 06/2015 | Austin Yellow | Sahkir Orange | 6MT |
2004 E46 ///M3 Imola Red | Black Nappa | 6MT | Gone |
|
Appreciate
0
|
| 05-31-2016, 01:48 AM | #27 | |
|
Lieutenant Colonel
 529
Rep 1,514
Posts |
Quote:
 Anyway it is very good and helped me to remove my rear strut  |
|
|
Appreciate
0
|
| 07-20-2016, 07:52 PM | #28 |
|
Private
 31
Rep 77
Posts |
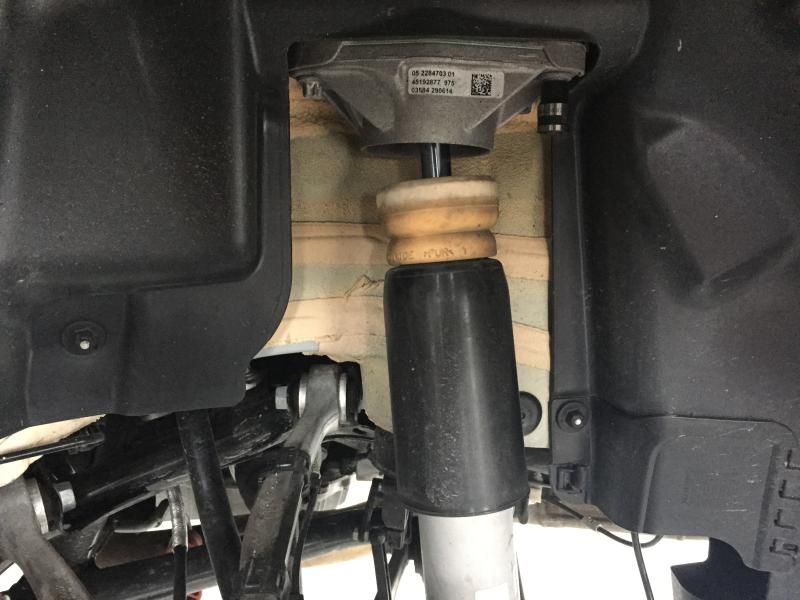
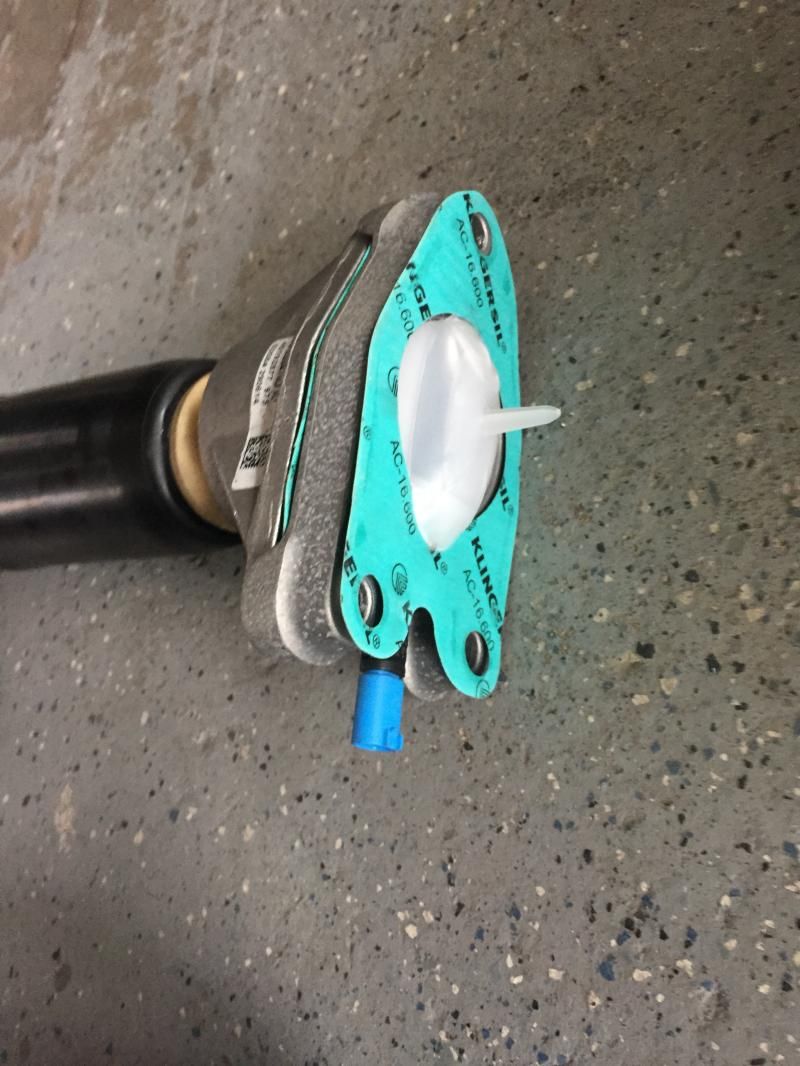
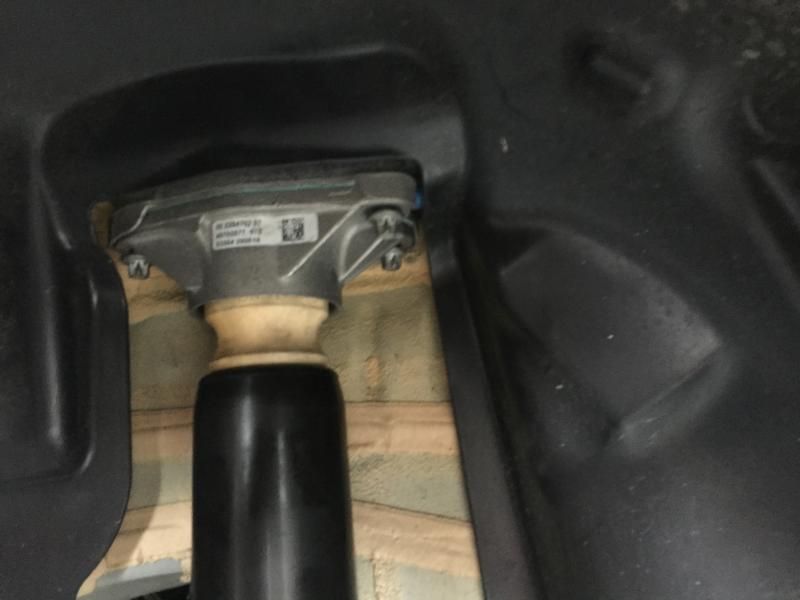
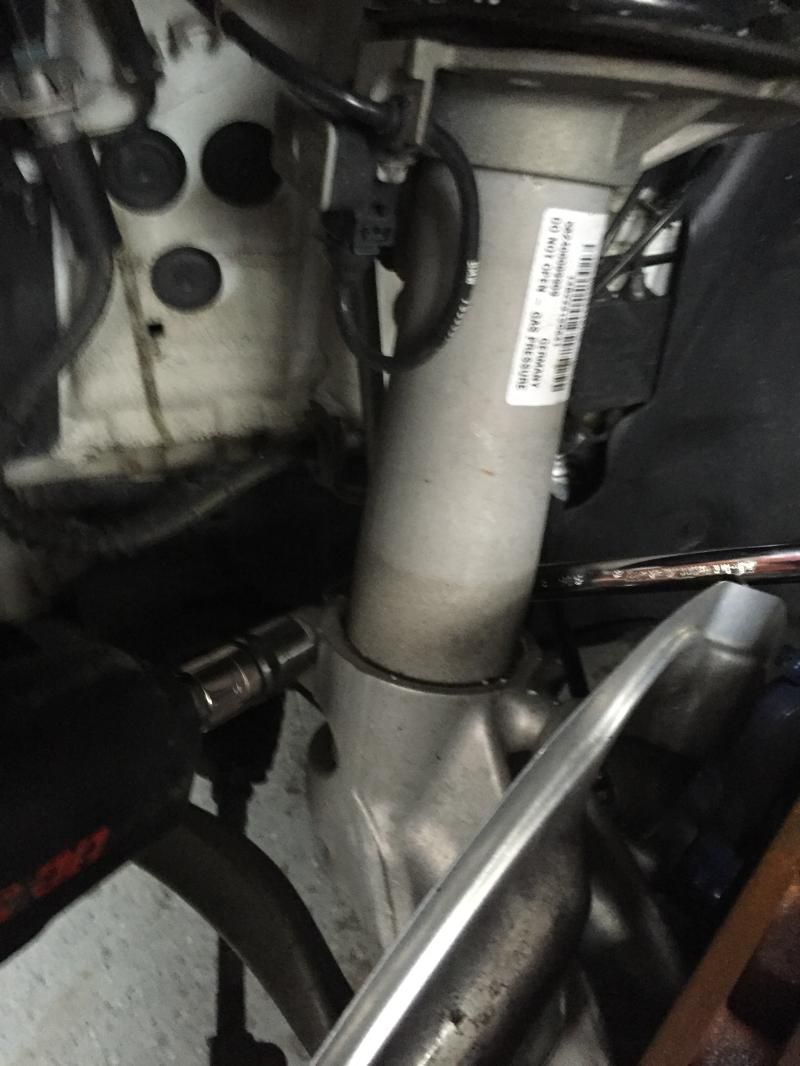
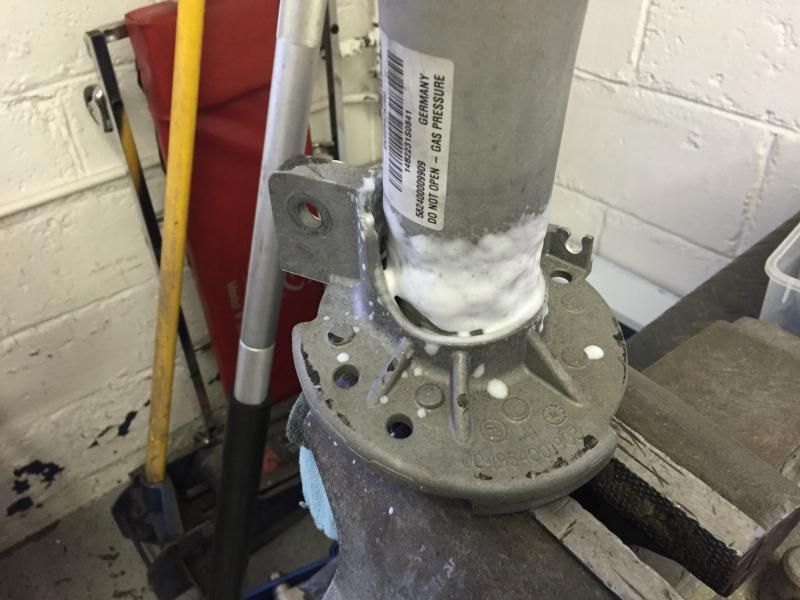
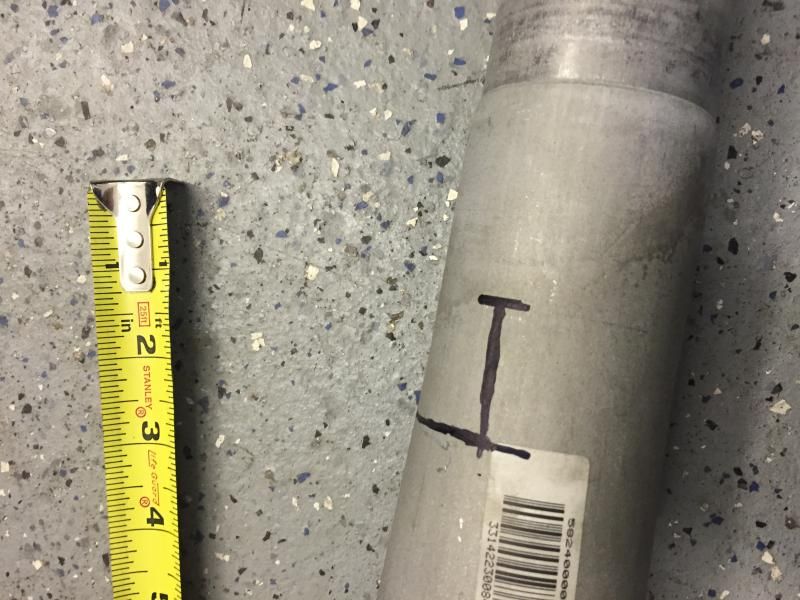
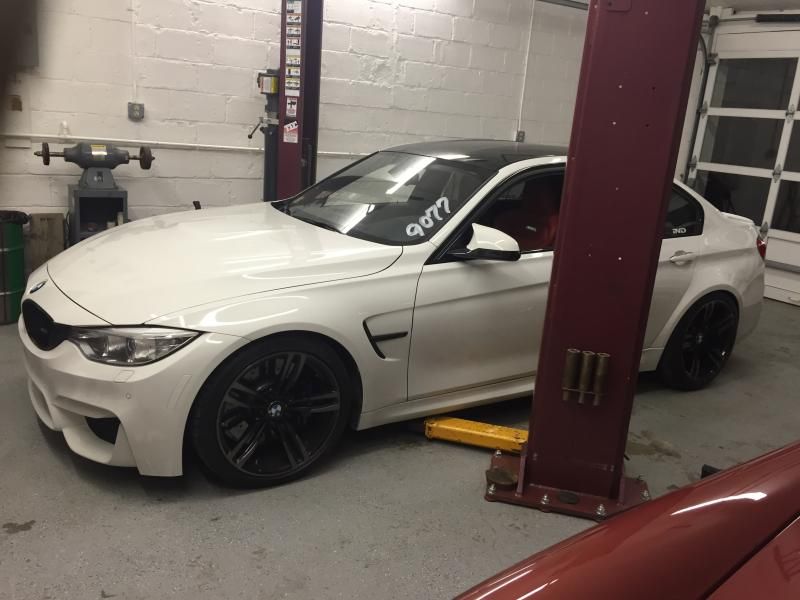
Does anybody know what the actual distance should be or what you guys have on your car between the bottom of the sleeve to the top of the strut in the front? see attached photo for reference.. The reason why I ask is because my car is currently on the highest setting and its sitting about an inch lower in the front then what I previously had. KW HAS stated the most conservative setting offers about a .5 inch drop, mines is over a half a inch lower and I think this is the problem. Also can the strut performance be affected with the sleeve over being pressed to low, excessive squeezing force being applied against the strut?
|
|
Appreciate
0
|
| 09-02-2016, 10:58 PM | #29 |
|
Second Lieutenant
37
Rep 278
Posts |
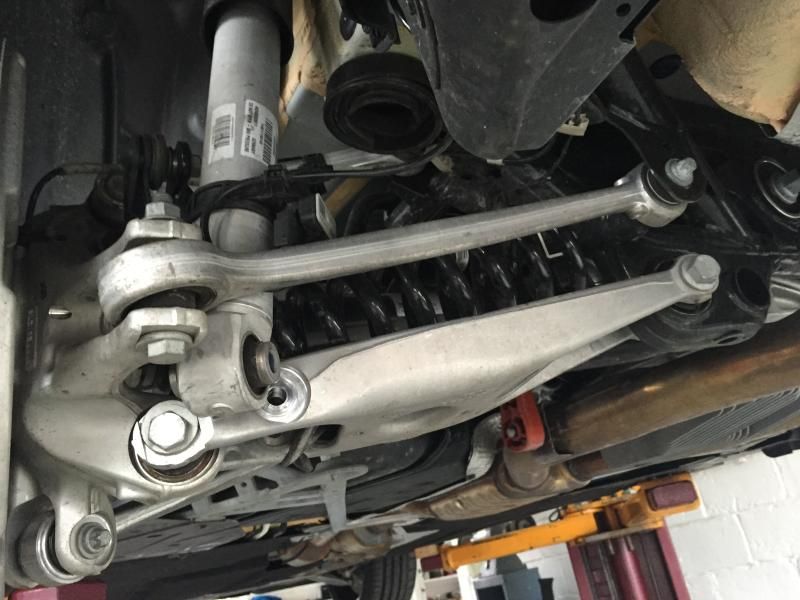
How do I get the rear spring to dismount without removing the PITA lower control arm bolt? I know how PITA it is because I did it before in my E92. Does standing on it work?
|
|
Appreciate
0
|
| 02-15-2017, 08:24 AM | #30 | |
|
Libertarian
71934
Rep 4,035
Posts |
Quote:
|
|
|
Appreciate
0
|
| 02-20-2017, 07:07 PM | #32 |
|
Major

320
Rep 1,061
Posts |
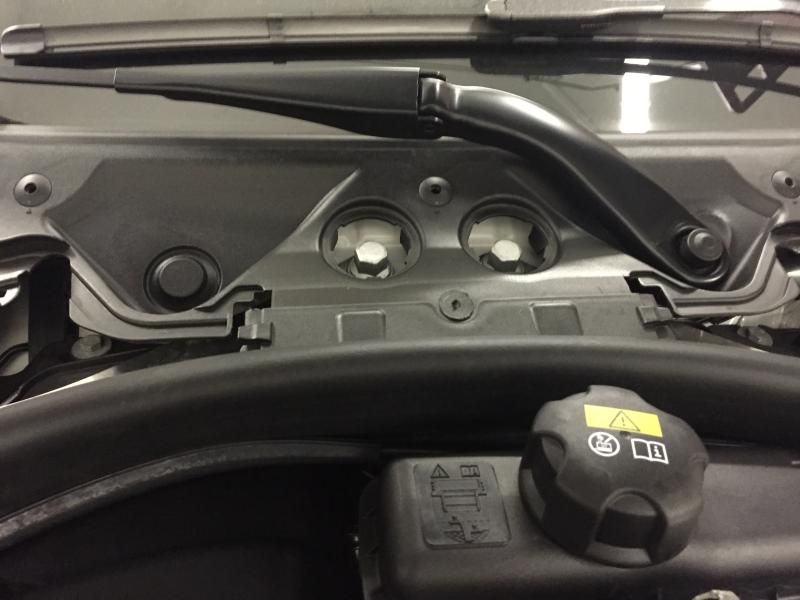
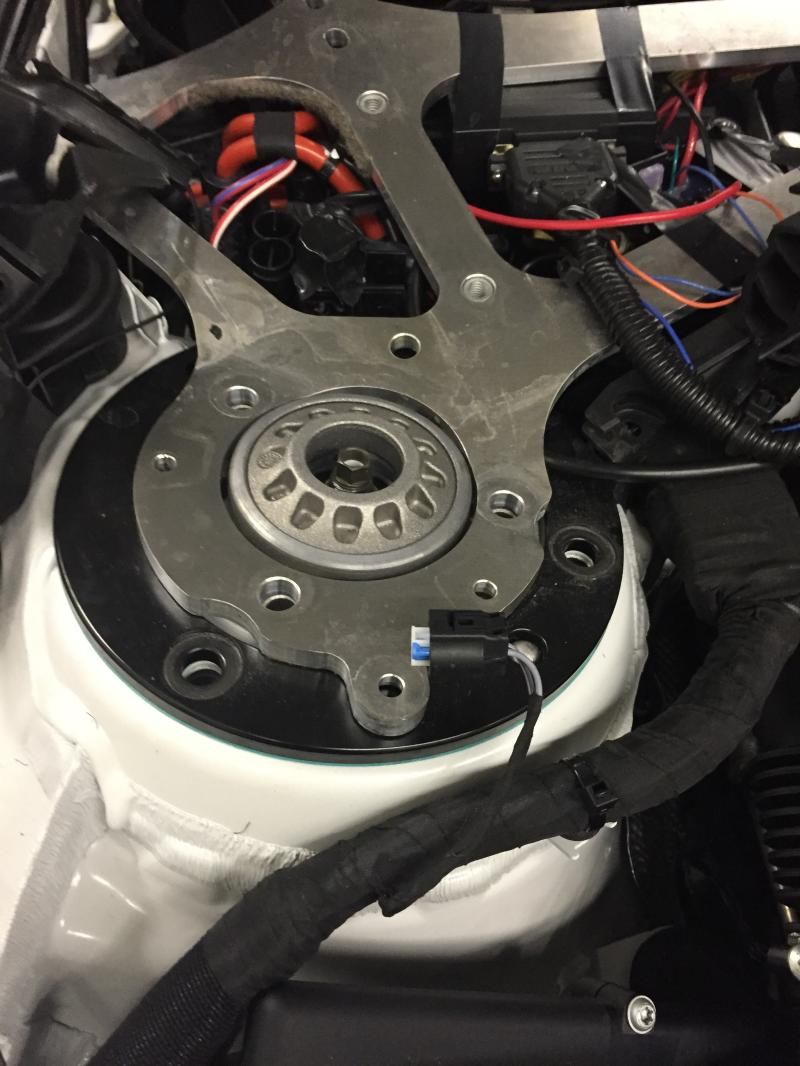
MasterC17 Thanks for posting this. After installing my m-performance springs (based on kw design) this past weekend I have a couple of comments/questions:
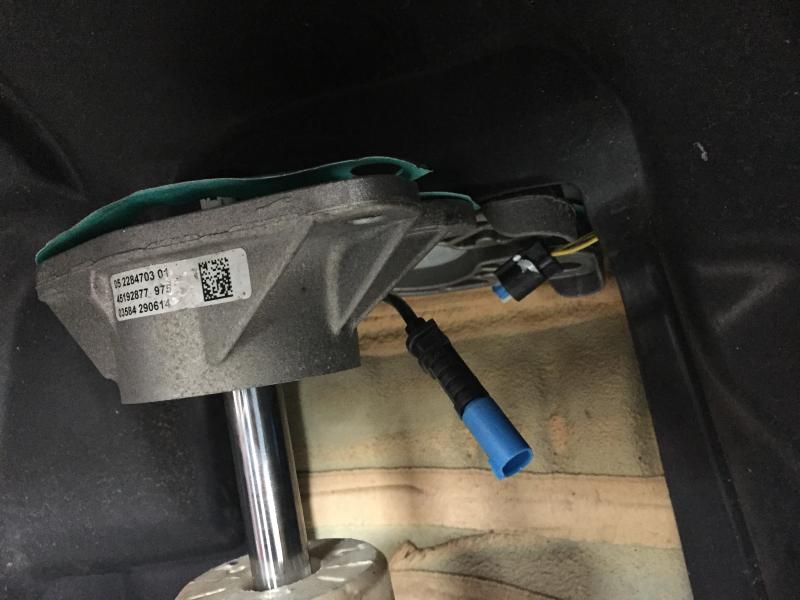
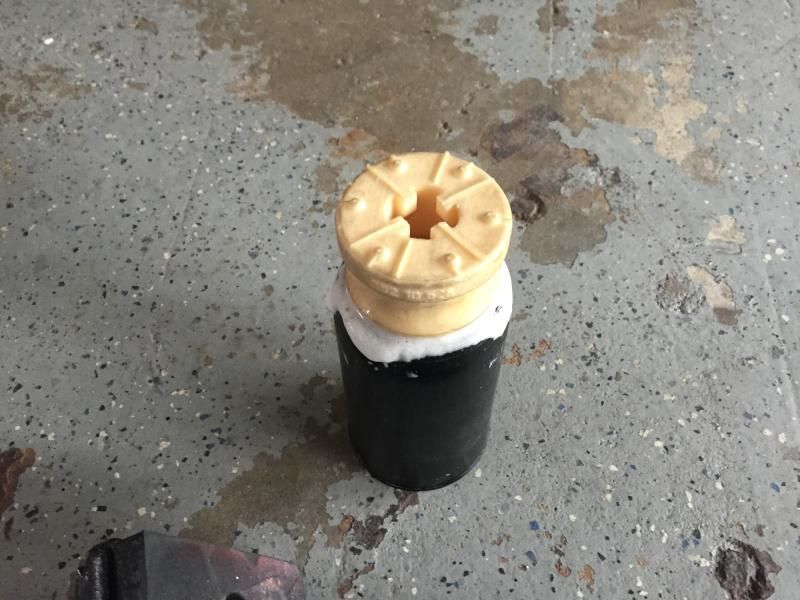
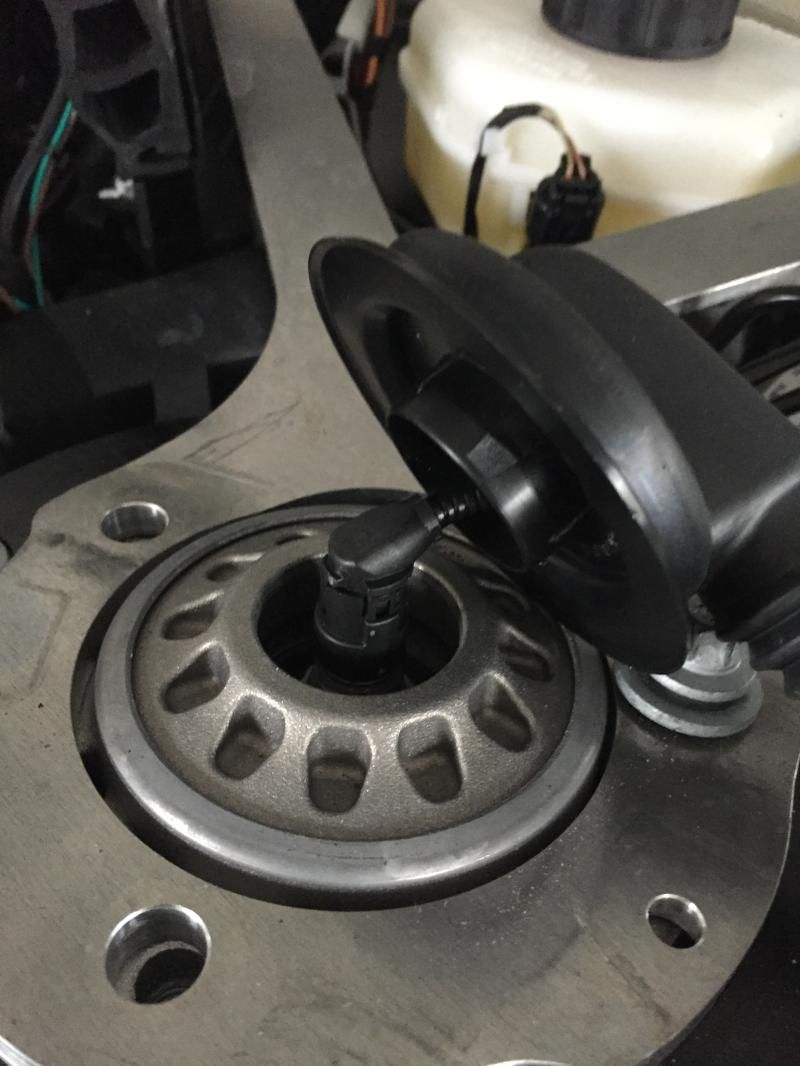
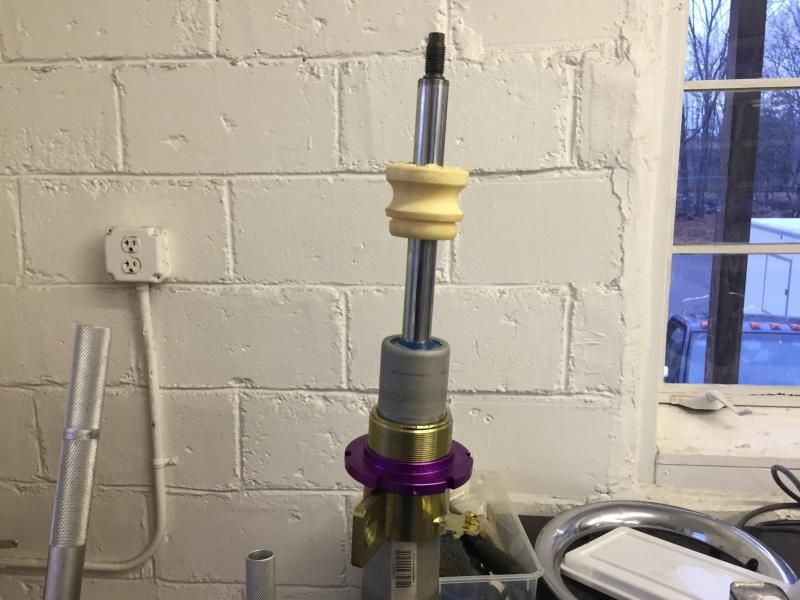
On the rear shock, have you had any issues with the plastic stone shield sliding down the shock shaft? The OEM bump stop has a larger diameter with an interference fit to the upper shock mount that is lost with the smaller diameter bump stop. On your front strut, is there a reason you did not install the plastic cap that holds down the dust boot? Thanks in advance! |
|
Appreciate
0
|
| 03-29-2017, 09:37 AM | #33 |
|
Captain
174
Rep 703
Posts |
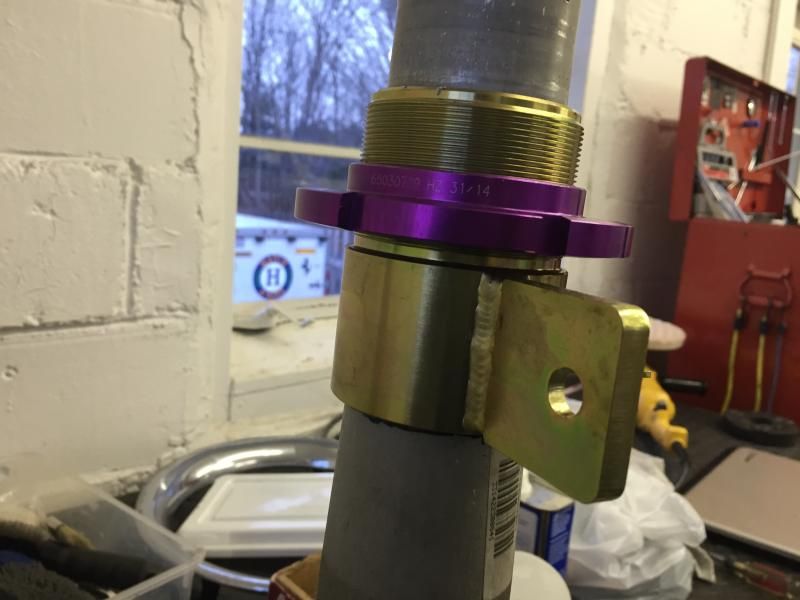
What is the reason to mark where the sway bar lines up in the front strut? I had mine installed at a shop and have Chassis malfunction error and trying to figure out what could have gone wrong.
__________________
1996 Maxima (Sold)
2007 G35 Sport (Sold) 1996 Miata Supercharged (Sold) 2010 E92 M3 (Sold) 2016 F80 ED..MW / Exec / Black 19' / DCT |
|
Appreciate
0
|
| 03-29-2017, 02:42 PM | #34 | |
|
Major
320
Rep 1,061
Posts |
Quote:
The MP springs include a special tool for pressing that lines up the sway bar tab so marking is not necessary. It should be pretty obvious if the sway bar tab is significantly out of alignment. |
|
|
Appreciate
0
|
| 03-31-2017, 08:54 AM | #36 |
|
Second Lieutenant
153
Rep 246
Posts |
I am in the middle of my installation. I mis-marked the KW saddle seating reference mark on the front strut. Are there any other indicators to know for sure that it is completely seated. I have pounded it down but want to know for sure.
|
|
Appreciate
0
|
| 04-06-2017, 01:56 PM | #37 |
|
"The Midas Touch"
519
Rep 1,055
Posts
Drives: F87 LBB ///M2
Join Date: Aug 2007
Location: Seattle, WA
|
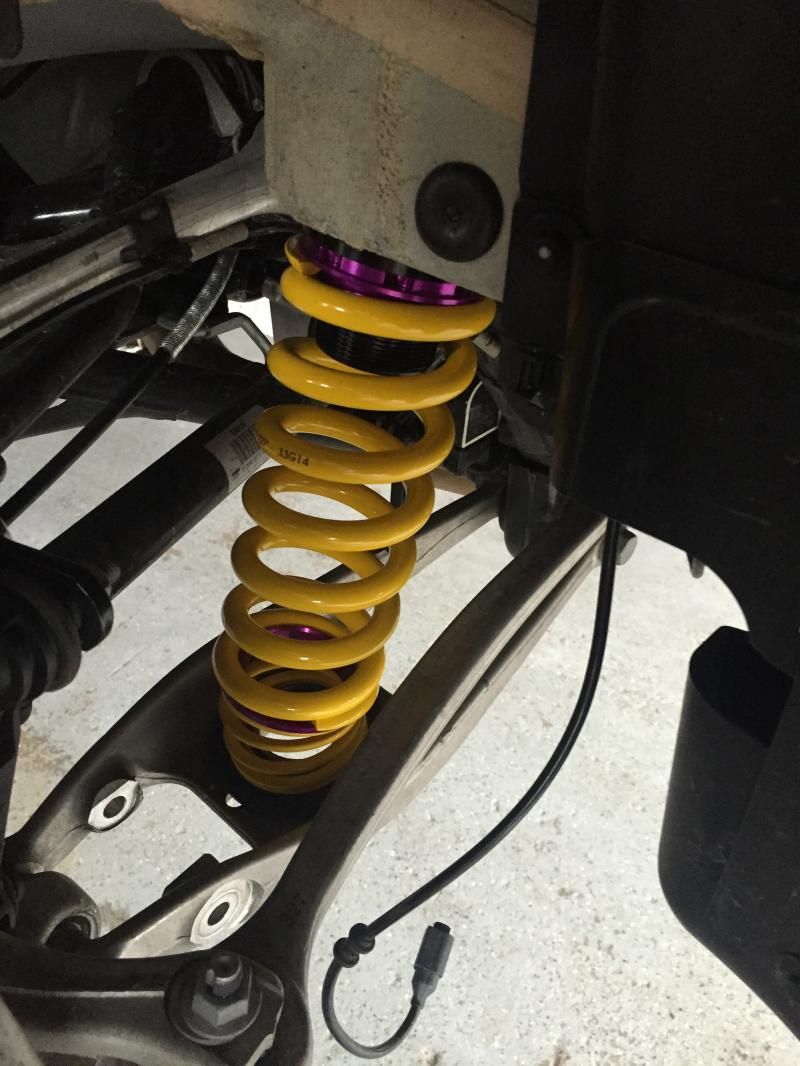
I just got my HAS today. Thanks for putting this together this will be most helpful. Question for those of you who have the HAS installed. I noticed the rear doesn't have a locking nut below the adjustment collar. Has anyone had issues or concerns with the height adjustment sleeve moving out of place for the set ride height when driving or overtime due to this design?
|
|
Appreciate
0
|
| 07-30-2017, 07:51 AM | #39 |
|
Registered
0
Rep 4
Posts |
Does anyone in this forum know how to get around this http://i277.photobucket.com/albums/k...psy9x726i3.jpg so that you can see the pics?
|
|
Appreciate
0
|
| 09-19-2017, 10:38 PM | #40 | |
|
Second Lieutenant
36
Rep 244
Posts |
Quote:
__________________
1995 BMW E36 M3-sold
2016 F80 M3 comp-sold Current- 2011 E90 M3 slicktop, comp, fox red interior, dct |
|
|
Appreciate
1
RowanBuds1707.00 |
| 09-25-2017, 01:32 PM | #41 |
|
Brigadier General
 
276
Rep 3,465
Posts
Drives: 997.2 GT3, '17 G30
Join Date: Apr 2006
Location: NJ
|
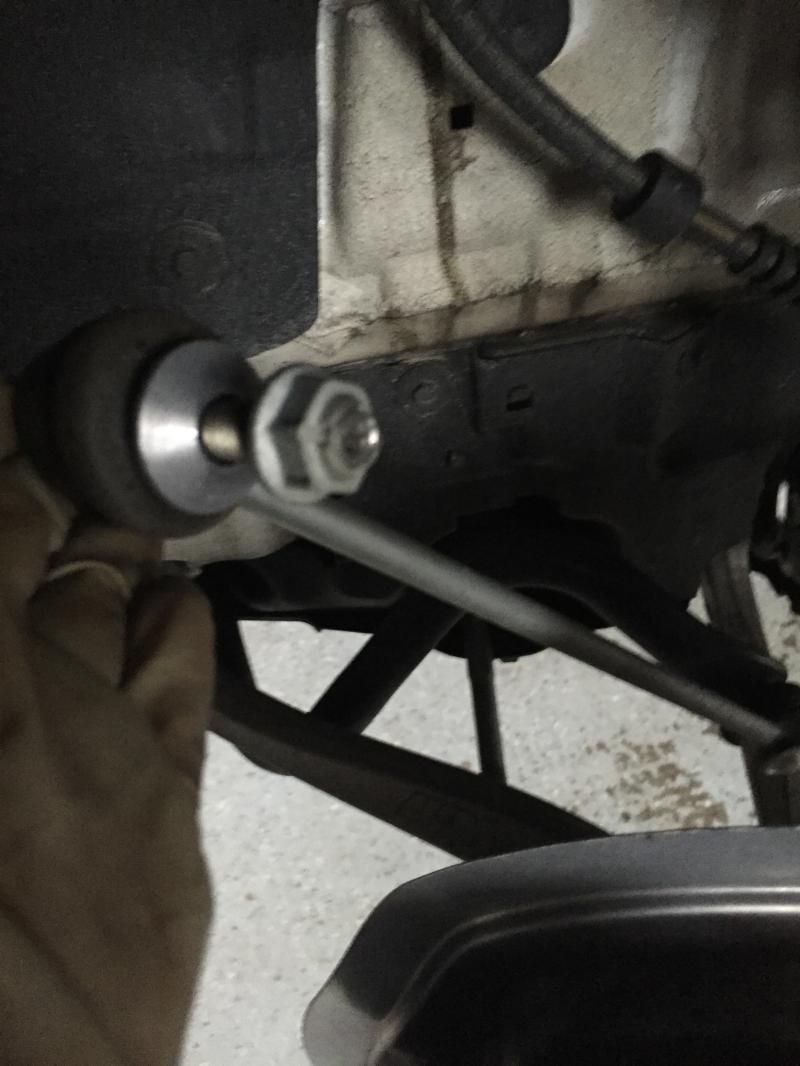
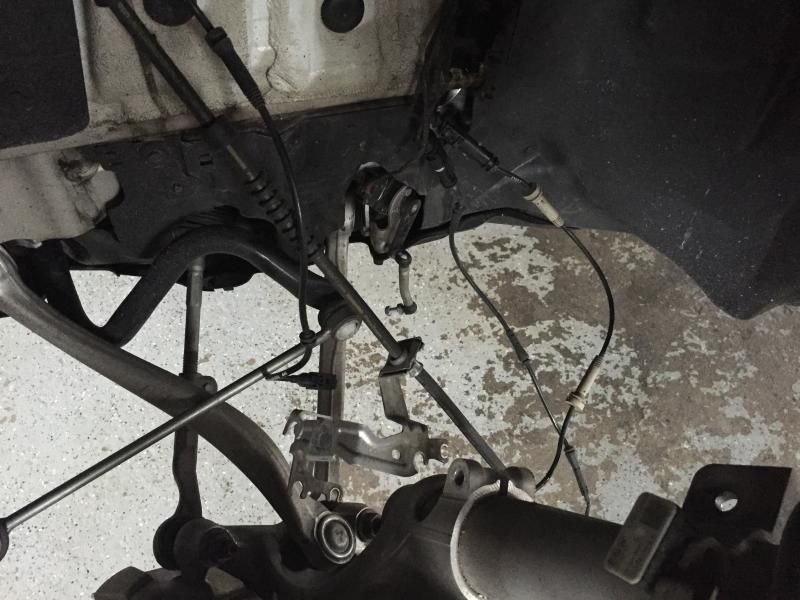
I am trying to do this a bit differently (easier) by removing the camber bolt to allow the rear control arm to swing down to release the spring. This is from the Salt City Euros DIY video.
My problem is the camber bolt seems to be stuck despite jacking from the control arm at different heights to release tension on it. The nut is removed but the bolt will not release.
__________________
ig: 0verrev
|
|
Appreciate
0
|
| 09-25-2017, 08:46 PM | #42 | |
|
Assistant TO the Regional Manager
617
Rep 728
Posts |
Quote:
__________________
2018 M4 Coupe. 6MT.
 Der stärkste buchstabe der welt |
|
|
Appreciate
0
|
| 03-28-2018, 10:21 AM | #43 |
|
sudo su -
52
Rep 236
Posts |
I was planning on doing this today, but all of the images on this post are missing, and the video I was referencing is suddenly unavailable.
Wtf is going on... |
|
Appreciate
0
|
Post Reply |
| Bookmarks |
|
|